Here is the Project 3 Git Link.
Outline Link to heading
Overview Link to heading
The objective of this project was to build an interactive “game” with randomly generated, explorable dungeon maps based on a 2D grid of tiles. You have probably come across games that use this map style, such as Pokémon, Fire Emblem, or Stardew Valley! These games typically use graphical tiles to create a more colorful and lively game experience, but for this project, my partner and I utilized text based tiles.
How it Works Link to heading
For this project, my partner and I developed a dynamic main menu with functionality for generating random dungeon maps based off of user-input seeds. We implemented features for loading saved maps and facilitating a seamless exit from the game. We also incorporated interactive keypress controls and mouse functionality for movement, toggling map tools, and information display, which enhanced user engagement and overall gameplay experience.
Game Play Link to heading
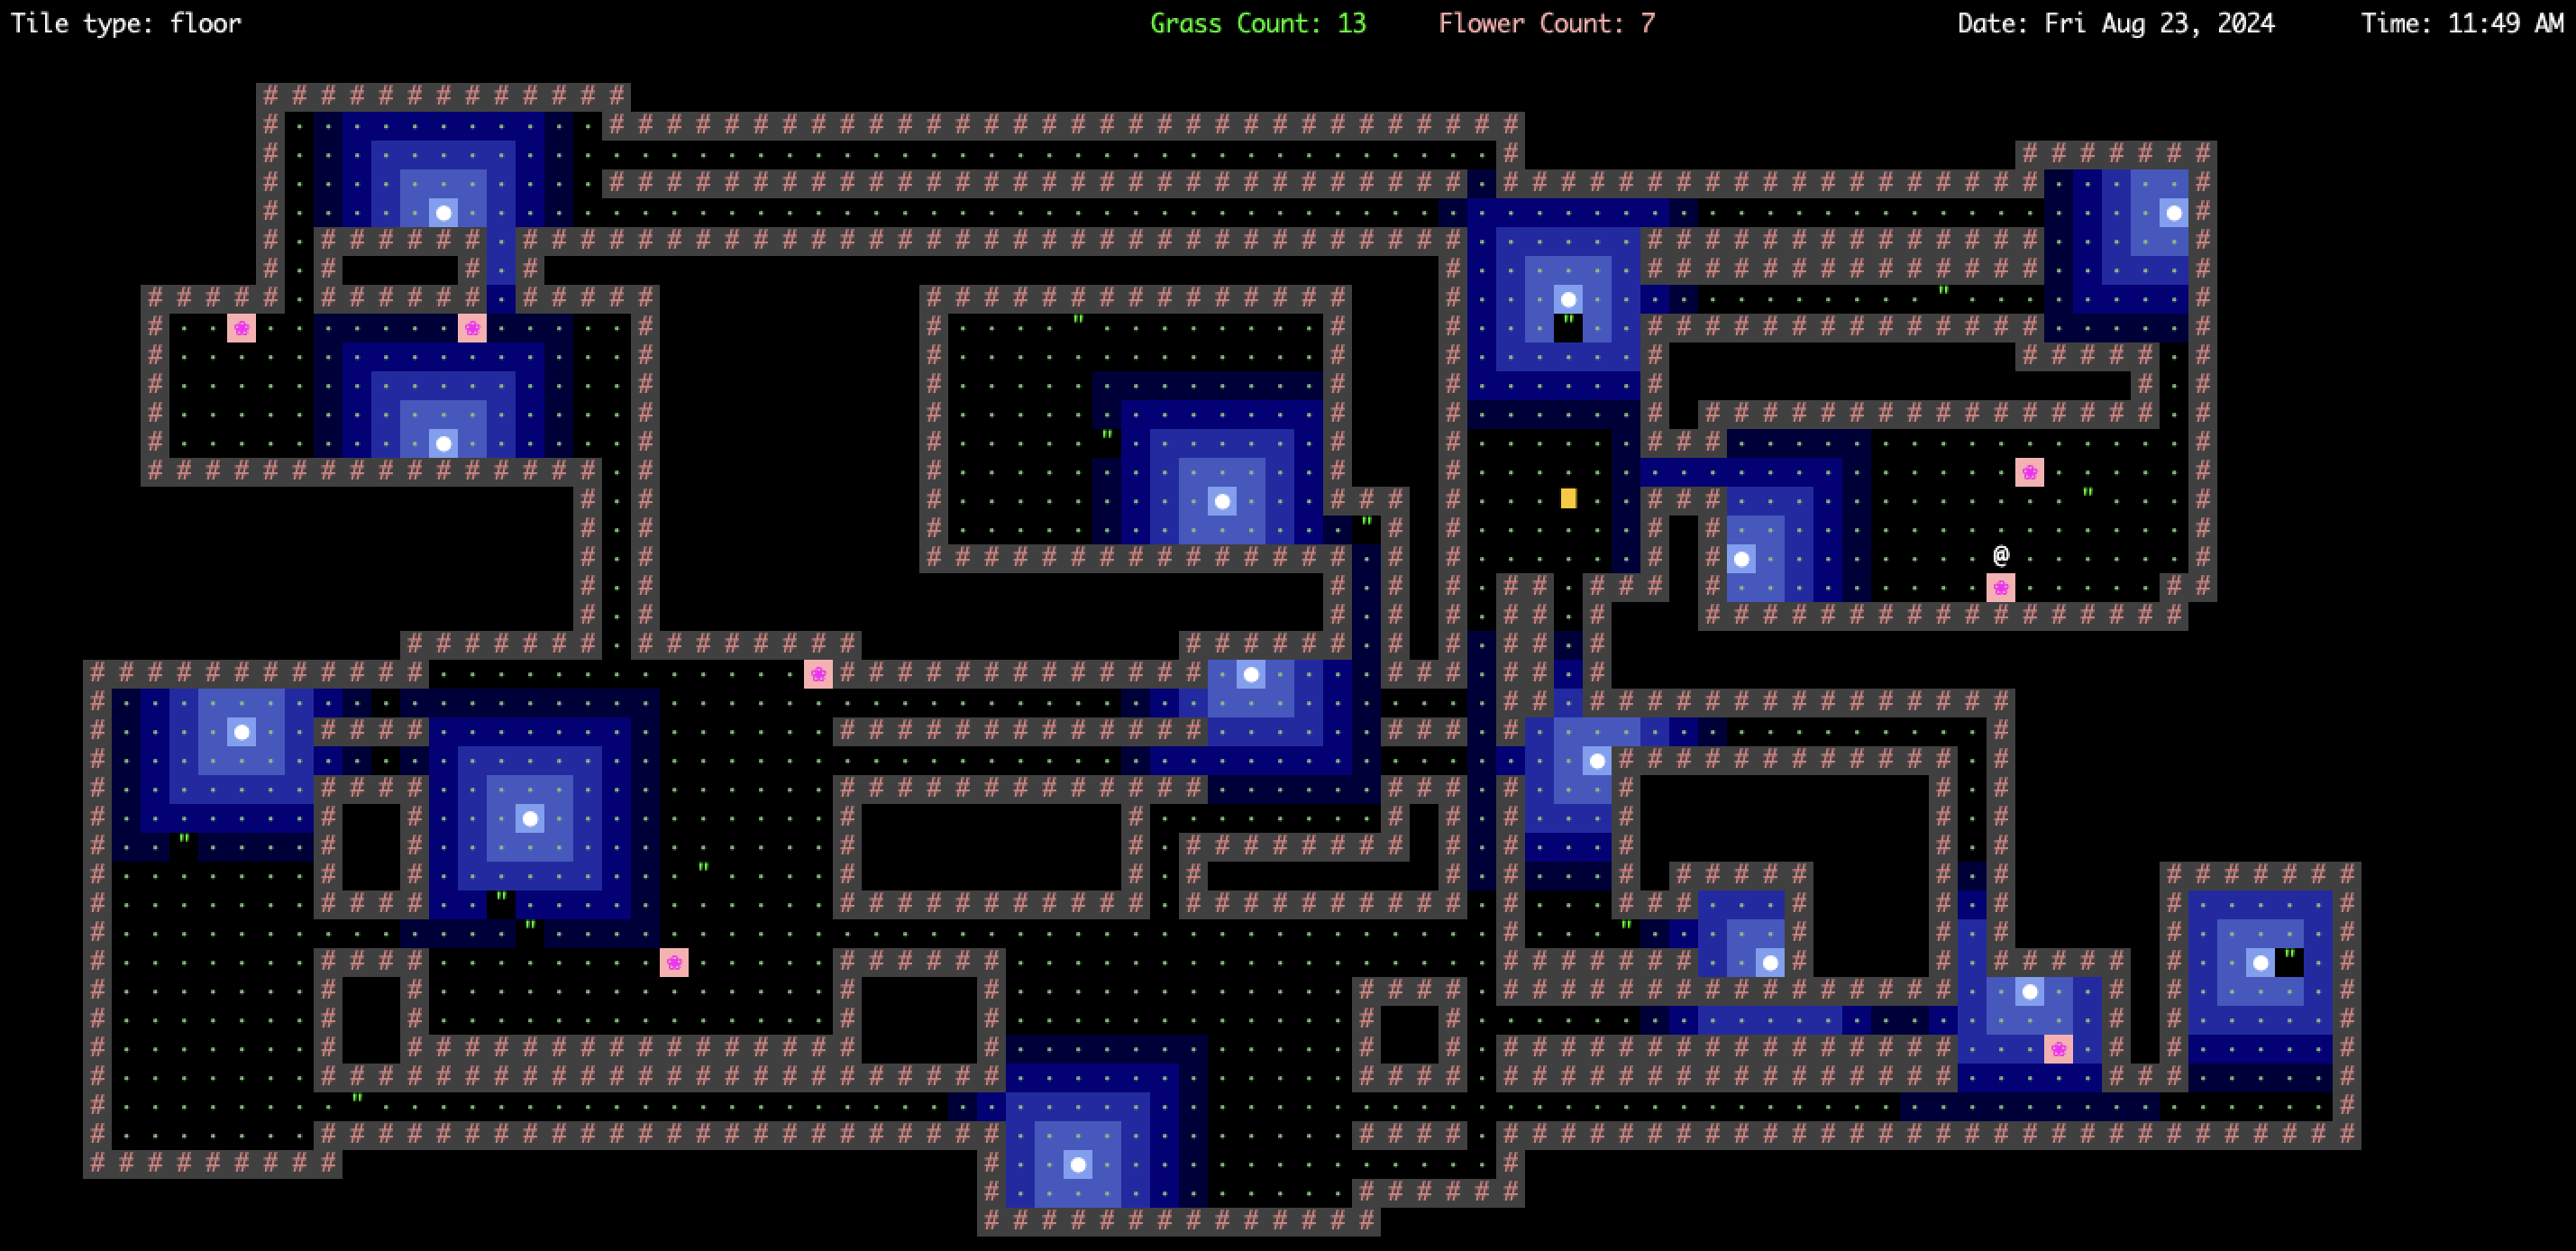
The end-game condition is simple: water all the “grass” tiles into “flower” tiles to unlock the final door. Each map starts with 20 grass tiles and a “locked” door in randomly generated locations. The game ends once the all the grass tiles have grown into flowers, and the avatar travels onto the tile containing the now unlocked door.
Video Tutorial Link to heading
Below is a short tutorial of an example game play.
Coding Process Link to heading
World Generation Link to heading
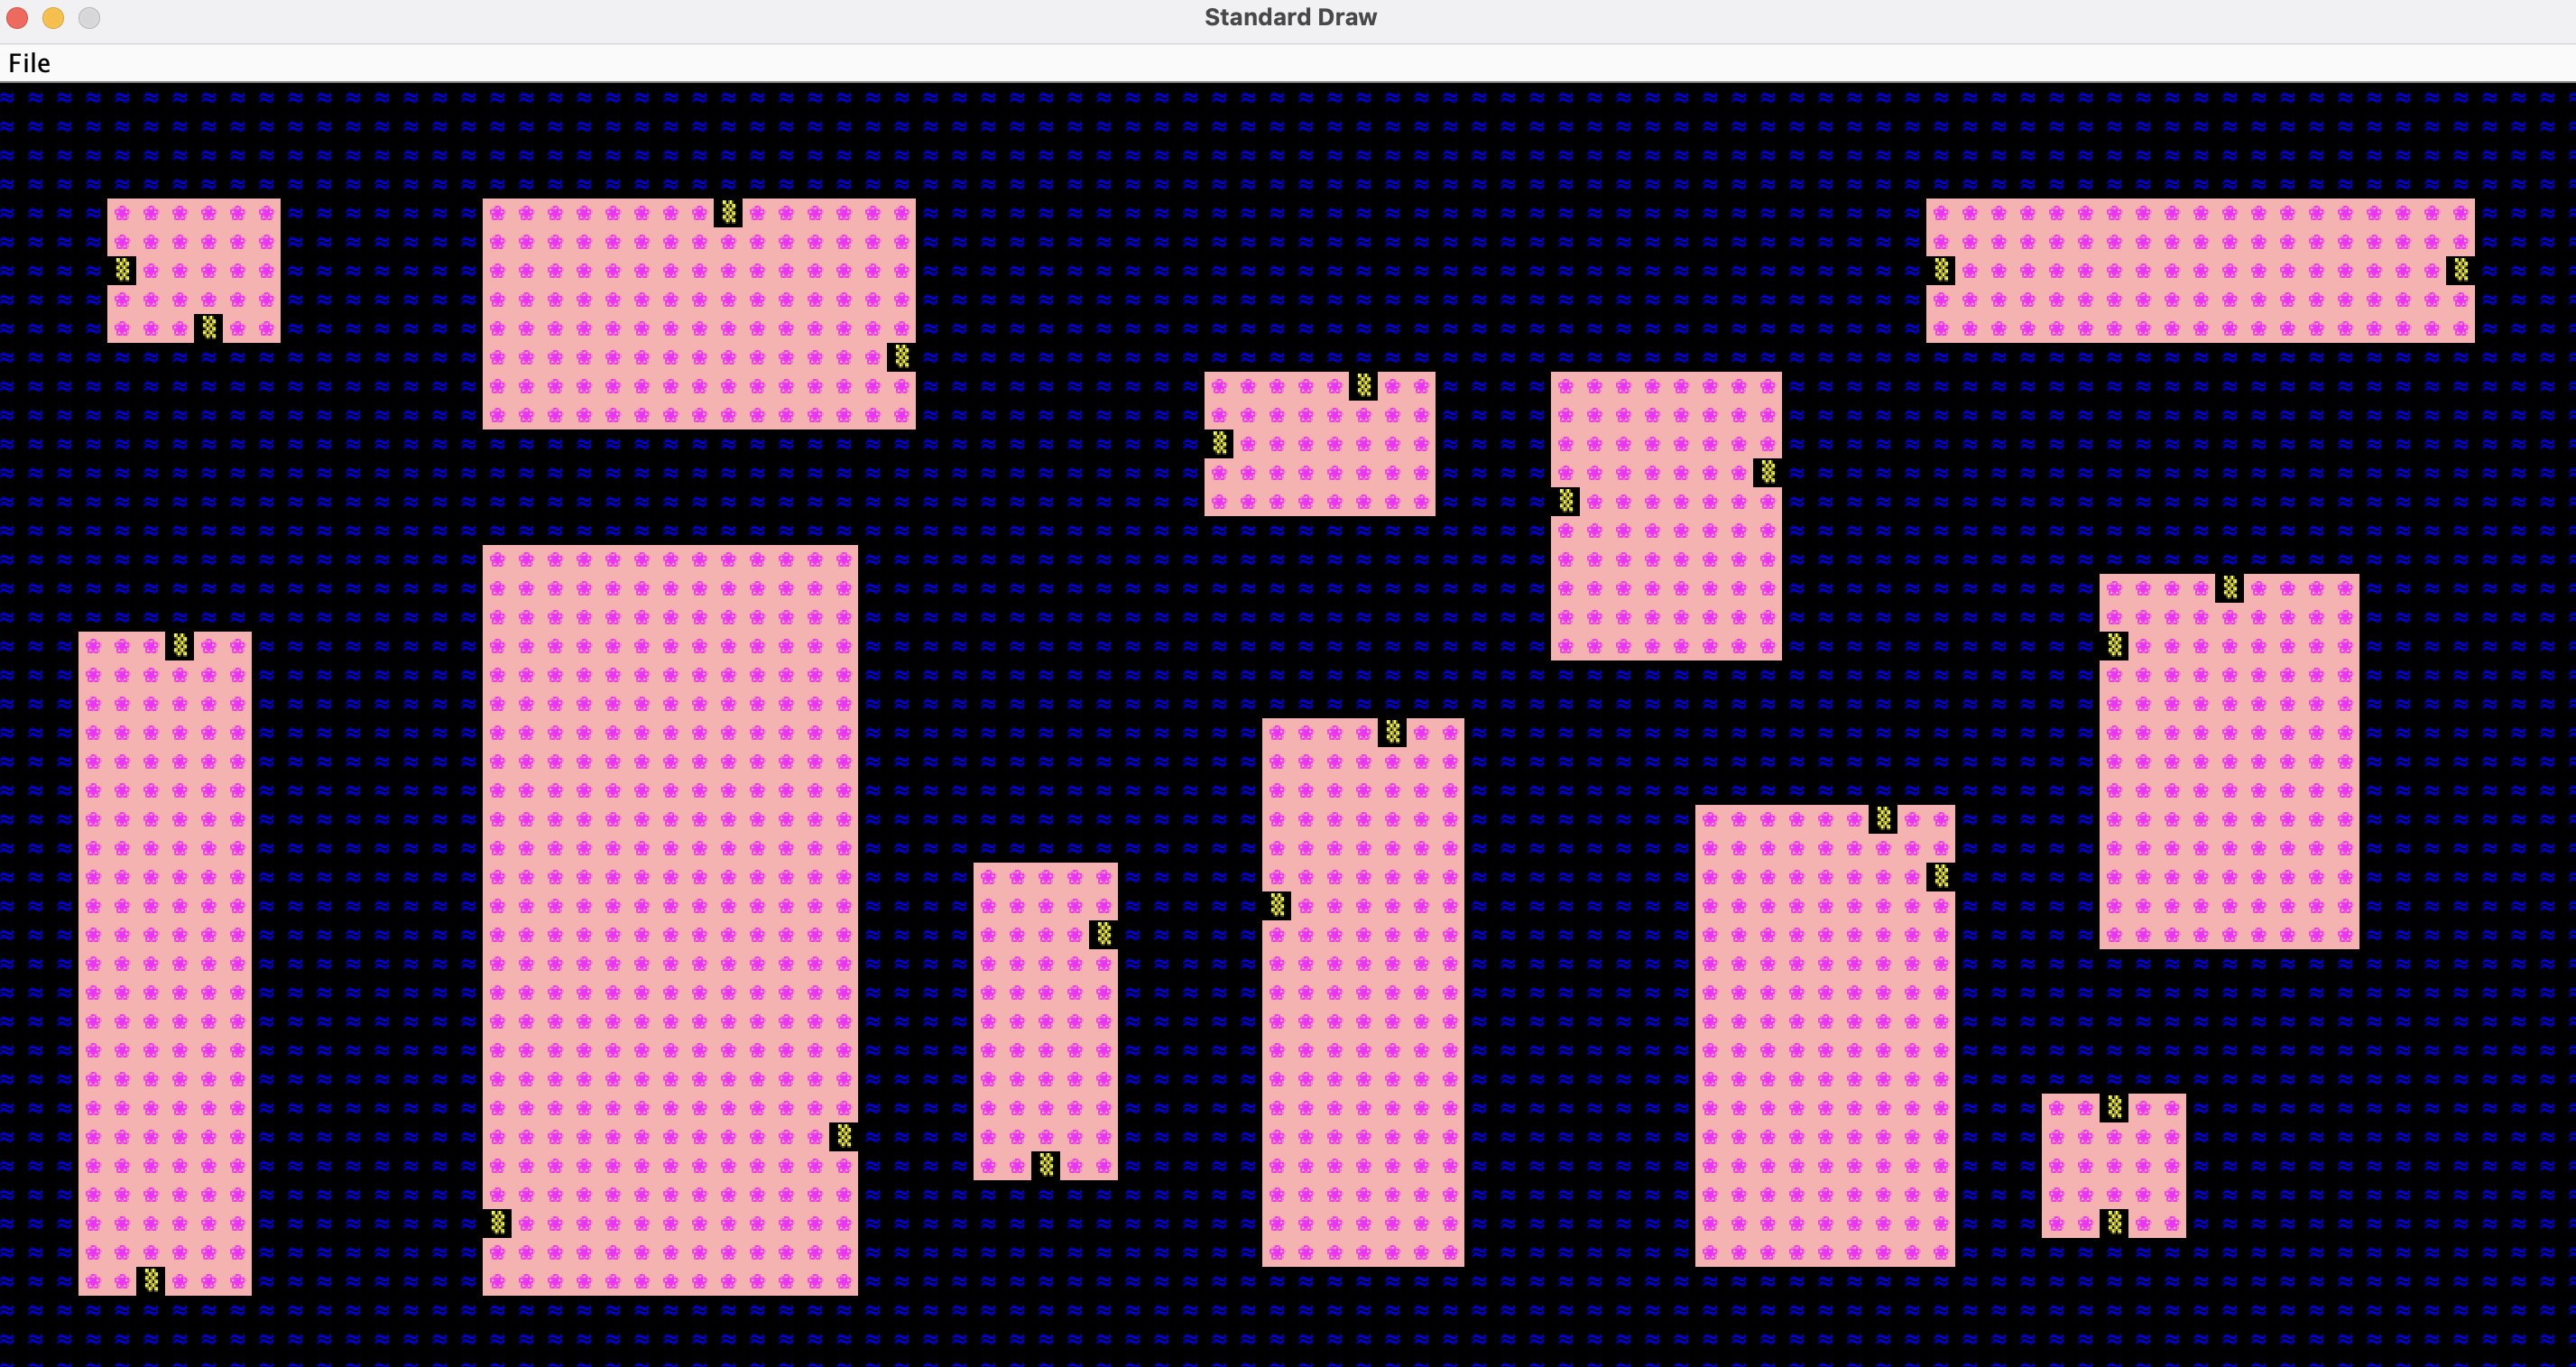
The first goal in this project was world generation. The main objective of the map was that it had to be able to generate random rooms and hallways (with no dead ends), with every element reachable for exploration. In addition, the explorable parts of the map had to take up The map generation was prompted by a seed that the user would input, and the same seed should be able to generate the same map.

My partner and I first focused on making sure that we were able to generate random rooms consistently (making sure that they were different for different seeds, and exactly the same for the same seeds). We then made sure that each rooms would generate two “doors”, which were indicators for where a hallway could connect to.

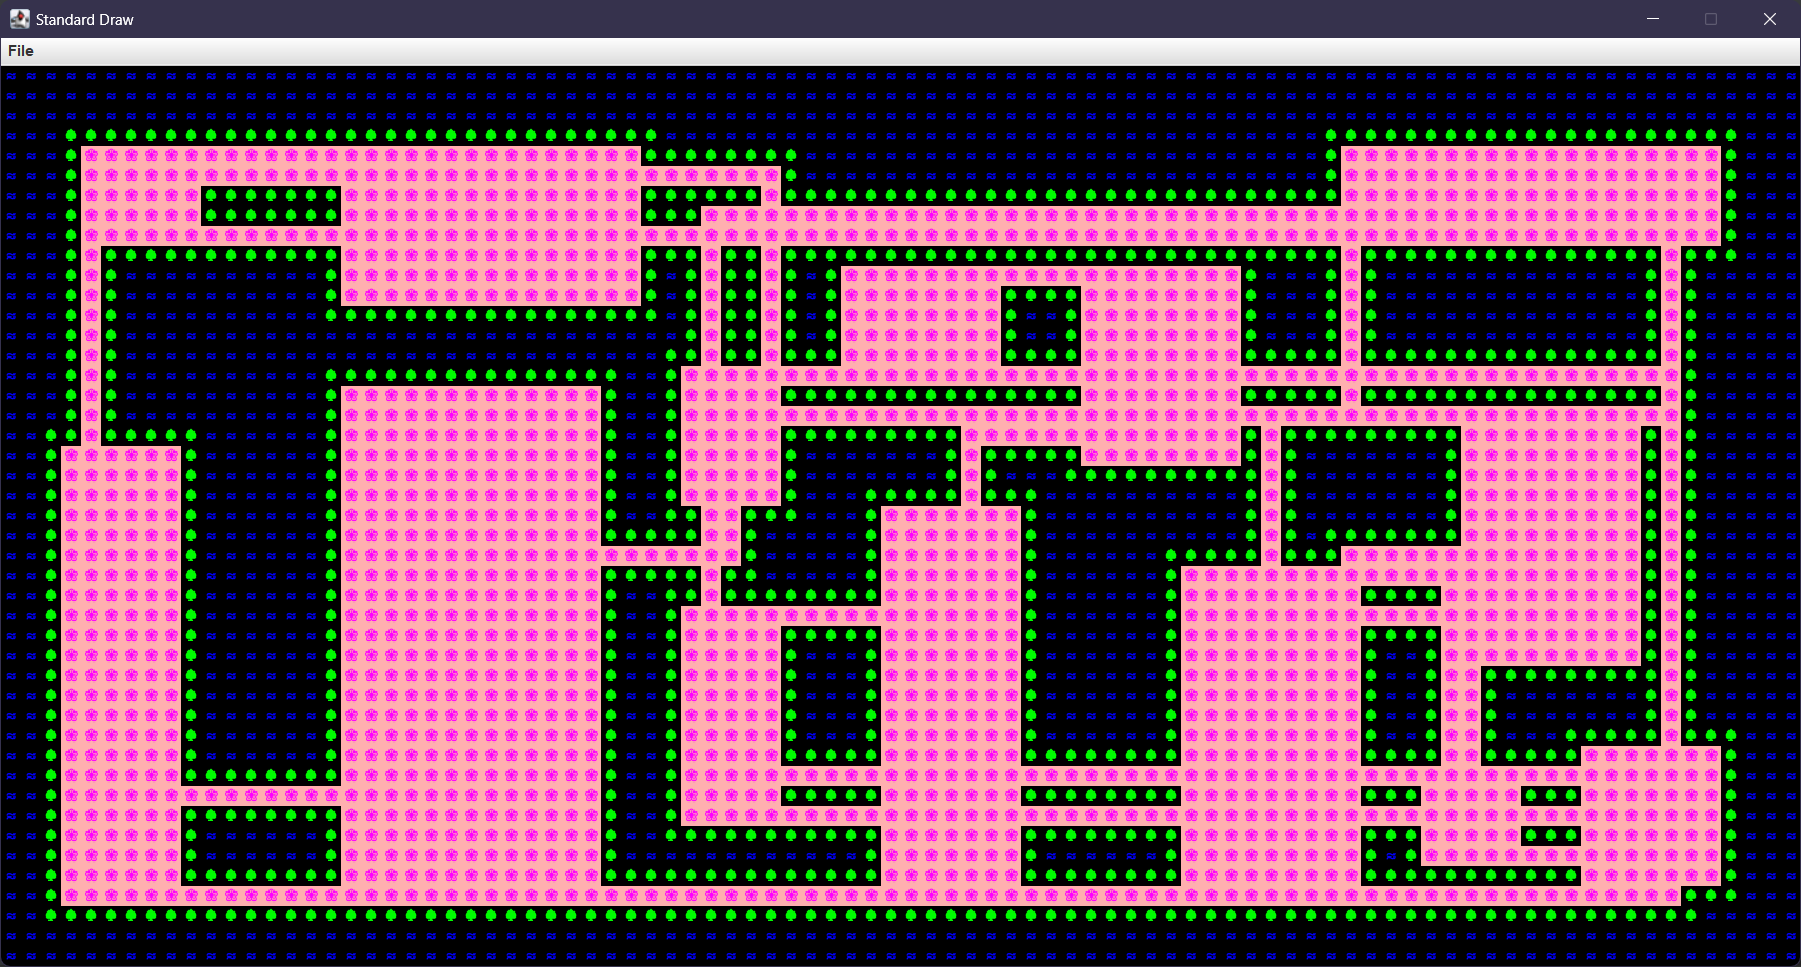
Our last step in world generation was to create the hallways. Similar to the room generation, we coded for hallways to randomly generate (within a width of 1 tile). The code involved ensuring that all the “doors” for each room were connected; simultaneously, we prevented doors of the same room to be connected, as well ensuring that all rooms were connected as one overall map.

Main Menu Link to heading
Once the dungeons consistently generating, the next step was to create a Main Menu. The Main Menu would present three options to the user at the beginning of the game:
- Creating a new world, which the user would then be prompted to provide a seed.
- Loading a previously saved game.
- Quitting the game immediately.
My partner and I found that this was the most difficult part of this second step. Tackling this problem required building a system that would continously draw the most recent map (if prompted to save), check if there was a previously saved world, and then if prompted in the Main Menu, would load the world exactly as it was last left.

The last step was the most fun as it involved building interactivity between the user and the game. The main objectives were:
- Enabling movement of an avatar using “WASD” keyboard controls.
- Identification of tile type based on where the mouse was hovering.
- A clock that displayed the current date and time.
Out of selection of multiple features to incorporate in this game, my partner and I chose two:
- Triggering lights to turn on based on keyboard controls (we used the letter “T”).
- Narrowing or widening the user’s view of the map around the avatar based on keyboard controls (we used the letter “G”).
In addition, we coded the game to use the keyboard control, “Y”, to allow the user to water grass tiles to flower tiles if the avatar was within 1 tile of the grass tiles. The counters for the grass and flowers at the middle, top of the game consistently reflected the game progress.

Takeaways Link to heading
For projects that are as extensive as this, a Design Document is an extremely helpful way to build a framework for different objectives and keep track of your current progress. Before diving headfirst into coding, my partner and I first detailed out each objective of our project, as well as the steps that we were planning to take to accomplish these tasks. We even created a checklist to help us easily identify our progress in the midst of the comprehensive planning. In addition to being a helpful guide for our project, the Design Document also served as an effective tool for communication. In order to ensure that we were both on the same page, we each assumed responsibility to consistently update the document, allowing the document to actively reflect our progress and keep the both of us on the same page about each other’s work. It also proved to be beneficial for debugging purposes.
Acknowledgements Link to heading
This project was conducted with Michelle Ngo during the 2023 Fall Semester of CS61B at UC Berkeley through the College of Computing, Data Science, and Society. Feel free to browse through this website for an in-depth scope of the project requirements. If you are interested in other projects that I have built for this course, feel free to browse this Git Repository.